So I made a Muscle Cylinder Prop...
I am not a regular cosplay (at the writing of this post) or prop maker of any kind.
This is actually my second concept/attempting at making a Muscle Cylinder Prop; hence the .5 in the title.
 |
| You have to start some where... |
So I had everything planned in my head, went to Home Depot which began the editing on the go that would be this crafting adventure.
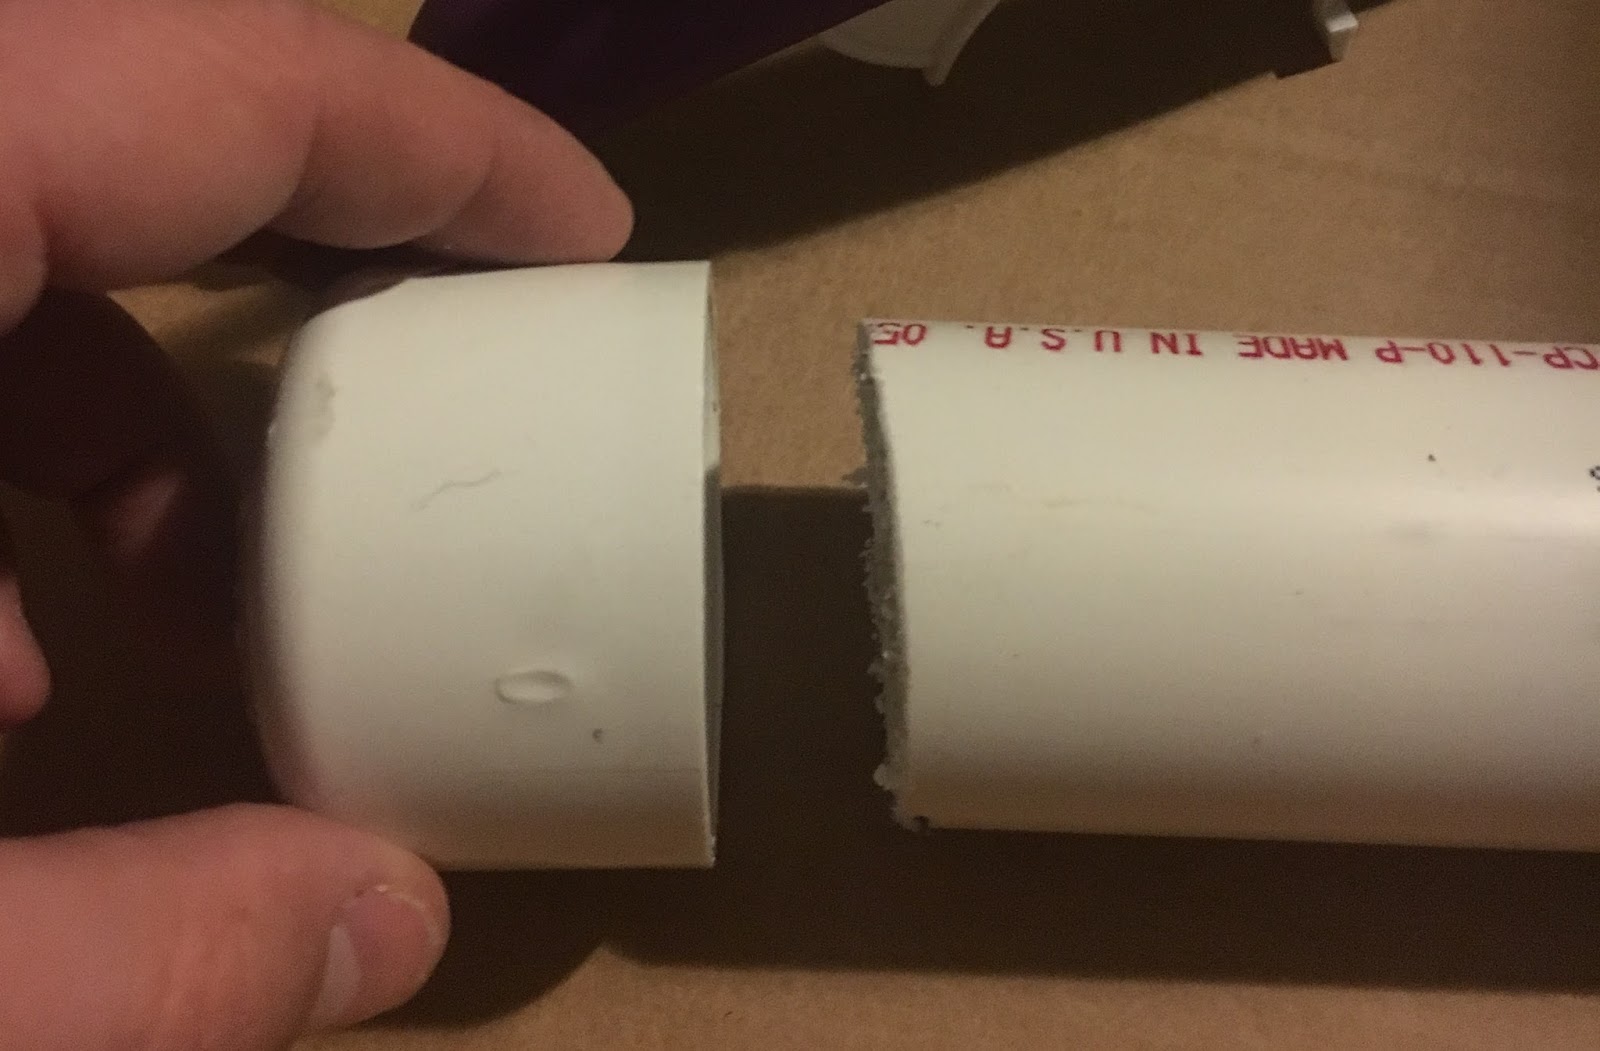
So I started with 1 1/2 inch wide PVC that was 2 feet long. Now I didn't want to be caring something that big around so first I had to cut this enough. When cutting make sure you have everything secure for both safety and accuracy
 |
| and in half...sort of. |
. So not a perfect cut but I am not making a plumbing system.
 |
| There are ways to fix things... |
So I did a bit of re-cutting and filing to get it a bit closer.
Now it time to start assembling things and I bought the actual glue went for putting PVC together but of course I pick the can that has leaked...around the lid so was SEALED SHUT FOREVER.
At this point I just moved onto the Hot Glue Gun; not like this thing was going to meet actually working pressures...
 |
| Said Tool |
So first we need to cap the end with the bad cut.
Now for the other end; going for a partial feel. I found a piece called a Tailpiece that seem perfect for the job. First I glue it inside the cap then glue the other end with it partially inserted into the main body.
 |
| WaLa! |
So next I needed what look like connection points or caps for connection points on each end so I had 3/4 end caps for that.
Get both ends and now the construction is complete!
 |
| Complete! - Sort of |
Now we need to point it up to cover the PVC markings and make it a bit less plastic looking. I used a flat white spray paint. Took a few coats; should of used a primer first or something.
So after waiting for 24+ hours to let the paint dry and set I get around to a bit of detailing. Something to make it pop and some faux data. I could of stepped my game up with some stenciling to make it a bit more manufacturing looking. Did give it a 'Job Tag' given this is for a TTM Frame Mechanic.
And there it is; all done. Thanks for reading. Not bad but not perfect. Maybe in the future I will try for a 2.0?